What Size Ski Poles Should You Get? Check the Fit

Turn a ski pole upside down and grip it just below the small disc near its tip. For most downhill skiing, the right length lets your elbow bend about 90 degrees, which gives you a useful starting point before you head to the mountain.
Your height can help narrow down a length, but a chart can’t account for your stance or the kind of skiing you do. Try the fit check with your ski boots on, since the extra height can change how the poles feel. Terrain and personal preference may also make a slightly shorter or longer pole more comfortable. Here’s how to check the fit and decide what to adjust.
Use your elbow bend to confirm the pole length
A height chart can point you toward a starting length, but your arm position gives a more personal check. A pole that feels fine while you stand casually may feel too long once you’re wearing ski boots and holding it the way you would on the mountain.
For downhill skiing, look for a comfortable bend at your elbow when you grip the pole upside down just below the basket. The basket is the small disc near the tip that helps keep the pole from sinking into snow. Your forearm should sit roughly level, rather than sloping sharply up or down.
- If your elbow bends much less than a right angle: the pole may be too long for that stance.
- If your elbow bends much more than a right angle: the pole may be too short.
- If your arm feels relaxed and your forearm is close to level: you have a sensible length to start with.
Don’t force your arm into position or lock your elbow straight. The goal is a natural bend that lets you hold the pole without shrugging your shoulder or reaching down. A small difference can feel noticeable when you plant a pole turn after turn.
Turn the pole upside down and check the fit at home
Use this simple check before you buy, or at home if you already have poles. Put on your ski boots if you have them, since they raise you above the floor and can change how the pole feels. Stand upright on a level surface, with your shoulders relaxed.
- Turn one pole upside down. The handle should be near the floor and the tip should point up.
- Find the basket. It is the small disc near the pole tip. Keep the basket above your hand, between your hand and the tip.
- Grip the pole just below the basket. Hold the shaft there, not the handle. Your fingers should wrap around it comfortably.
- Let the pole rest upright beside you. Keep your elbow close to your side instead of lifting your arm out.
- Check your elbow and forearm. Your elbow should bend close to a right angle, with your forearm roughly level with the ground.
- Repeat on the other side. If the poles are the same length, the fit should feel similar in each hand.
Keep the basket above your hand during this check. Holding below the basket changes the length your arm is measuring, so the result can make a suitable pole seem too long. Holding the handle instead also changes the check and doesn’t show the recommended grip position.
If you’re between two available lengths, compare both with the same stance and boots. Notice whether one makes you lift your shoulder or reach down. Choose the length that lets your arm rest naturally, unless your skiing style or terrain gives you a clear reason to prefer a different feel.
Use a height chart as a starting point, not the final answer
A height chart helps narrow down which pole length to look at first. It can be useful when shopping online, especially if you don’t have a pole nearby to compare. But a chart cannot account for every detail of your stance or how you like to ski.
Two skiers of the same height may prefer different lengths. Their arm length, the way they stand, their boots, and the kind of skiing they do can all affect how a pole feels. A chart is a quick estimate, not a promise that the listed length will suit you.
Start with the chart from the pole maker or retailer, then check the suggested length using the upside-down grip method. If the chart’s choice makes you shrug or bend your elbow too tightly, don’t ignore that feeling just because your height falls in the listed range. Check the maker’s sizing notes before ordering, since charts can differ.
Make sure you’re comparing the same kind of measurement. Pole lengths are usually given from the tip to the handle, while the home fit check measures the pole where your hand grips the shaft below the basket. Those are different reference points, so don’t use the grip position as if it were the pole’s listed length.
Match pole length to the way you ski
For regular downhill skiing on groomed runs, the elbow check is a practical starting point. It gives you a length that supports a relaxed arm position for ordinary pole plants. If the poles feel awkward when you hold them in your usual stance, go back to the fit check before assuming you’ll simply get used to them.
Skiing style and terrain can shift what feels comfortable. Some skiers prefer slightly shorter poles for a more compact stance or for quick movement in tight spaces. Others may prefer a little more length for the way they stand or plant their poles. Treat those preferences as small adjustments around a comfortable fit, not a reason to choose a length that makes your arm strain.
Backcountry skiing can involve steeper slopes, changing snow, and walking. A pole that feels right for a groomed run may not feel ideal in every part of that day. Adjustable poles can make it easier to change the length for different conditions, but the best setting still depends on how you’re standing and using them.
For example, a skier who spends most of the day on groomed runs may want a steady length that feels natural while turning. Someone who also walks uphill may value the ability to change pole length for that part of the trip. Don’t assume a shorter or longer pole is automatically better for a whole style of skiing; check how it feels in the stance and situation where you’ll use it most.
If you’re learning, prioritize a comfortable fit over trying to copy another skier’s pole length. A friend’s poles can feel wrong even if you’re about the same height. Use your own elbow position, then ask a ski shop worker to help confirm your choice if the fit remains unclear.
Choose adjustable poles if you need room to fine-tune
Adjustable poles can help if you’re between two fixed lengths, share poles with another skier, or ski in conditions where you want to change the length. They aren’t a substitute for a comfortable setting. Set them to a length that matches your stance, then follow the maker’s instructions for securing the adjustment.
- Use the upside-down grip check to find a comfortable starting setting.
- Confirm that the length marks are easy to read and that you can lock the pole as the maker directs.
- Check that the pole stays at the chosen length before skiing, and stop using it if the adjustment slips or won’t secure.
- Read the product details to confirm the adjustment range suits your needs. Ranges vary by model.
If you’re torn between a fixed pole that fits well and an adjustable one you don’t expect to change, the fixed length may be simpler. If your skiing includes several kinds of terrain or you’re still settling on your preferred length, adjustability can give you options. Either way, check the fit at the setting you plan to use.
Look for adjustable poles that let you set a comfortable fit
Adjustable ski poles may help if you’re between sizes or want to change length for different terrain. Before choosing a pair, check the adjustment range, how the pole locks, and whether the instructions explain how to secure it. The length range should include the setting that gives you a relaxed elbow bend, not just a number that matches your height.
After setting the poles, repeat the upside-down grip check and follow the maker’s directions for locking them. If you can’t confirm that the adjustment is secure, don’t ski with the pole until you’ve checked the instructions or asked a ski shop for help.
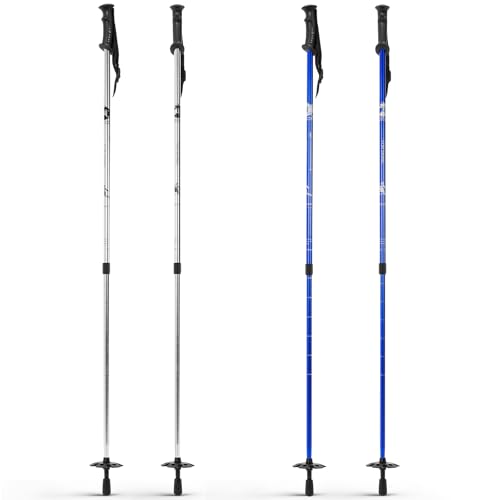
- BWP Score9.7
BWP Score is a ranking system developed by Bestwinterproducts.com. BWP score has no relationship or impact from any manufacturers or sales agent websites. Learn more
- BrandVioraWhite

- BWP Score8.5
BWP Score is a ranking system developed by Bestwinterproducts.com. BWP score has no relationship or impact from any manufacturers or sales agent websites. Learn more
- BrandLEKI

- BWP Score8.0
BWP Score is a ranking system developed by Bestwinterproducts.com. BWP score has no relationship or impact from any manufacturers or sales agent websites. Learn more
- BrandLEKI

- BWP Score7.8
BWP Score is a ranking system developed by Bestwinterproducts.com. BWP score has no relationship or impact from any manufacturers or sales agent websites. Learn more
- BrandVioraWhite
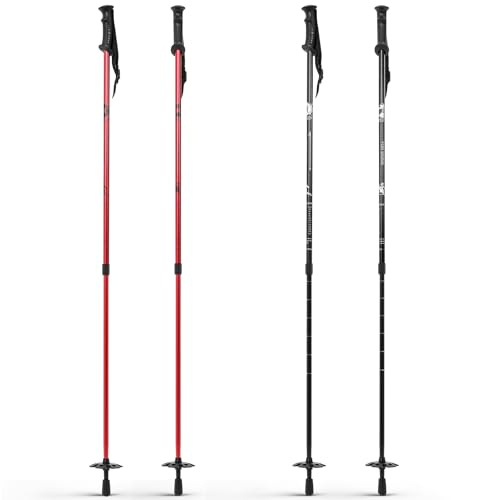
- BWP Score7.7
BWP Score is a ranking system developed by Bestwinterproducts.com. BWP score has no relationship or impact from any manufacturers or sales agent websites. Learn more
- BrandVioraWhite
Last update on 2026-11-07 / Affiliate links / Images, Product Titles, and Product Highlights from Amazon Product Advertising API
FAQs
Should I wear ski boots for the pole fit check?
Yes, if you have your ski boots available. Boots raise you off the floor, so checking in them gives you a closer match to your stance on the mountain. If you don’t have them yet, use the check as a starting estimate and confirm the fit later.
What if the pole feels too long even though the chart says it fits?
Repeat the upside-down grip check with your hand just below the basket and your elbow relaxed at your side. If you have to shrug or your elbow barely bends, compare another length and check the maker’s sizing guidance. Your height is a starting point, not the only thing that matters.
Are shorter poles better for beginners?
Not automatically. A pole that is too short can make you reach down, while one that is too long can make you lift your shoulder. Start with a relaxed arm position, then ask a ski shop worker for help if you’re unsure how your stance affects the fit.
When should I ask a ski shop for help?
Ask for help if two lengths both feel awkward, your arms sit differently on each side, or you can’t tell whether you’re holding below the basket correctly. Bring your boots if possible so the shop can check your stance at the height you’ll have on the slopes. If an adjustable pole won’t lock securely, don’t use it until the maker’s instructions or a shop worker clarify what to do.
Related guides: what size poles do i need for skiing and what size poles for cross country skiing.


Best Clear Ski Goggles Men 2026 For Sharp Vision On Slopes

Best Green Ski Goggles 2026 For Clear Vision On Slopes

Best Ski Goggles Under 30 Inches For Crisp Vision And Comfort

Best Backcountry Ski Goggles 2026 For Crystal Clear Vision

Best Frameless Ski Goggles Men for Clear Vision and All-Day Comfort
best yellow ski goggles Snow Clarity

Best EXP Vision Ski Goggles 2026 Ultimate Clarity Picks

Discover the Best Mens Ski Goggles of 2026