How Much Does It Cost to Build a Fireplace in 2026?

Building a fireplace can be an affordable weekend update or a major structural overhaul. The final bill changes the moment exhaust venting, fuel lines, or custom masonry enter the picture. A simple unit resting against an existing wall keeps expenses predictable, but cutting through ceilings, altering roof lines, or pouring concrete foundations quickly turns a cozy upgrade into an intensive construction job.
Three main decisions shape the true cost: the type of fuel, how exhaust leaves the house, and the decorative surface surrounding the opening. A traditional hearth demands specialized trade work and utility connections, whereas vent-free options let you finish a framed wall with basic lumber and drywall. Here is a realistic look at how materials and installation fees divide up so you can plan the right build for your home.
Fuel choice dictates your overall project budget
Fuel choice dictates your overall project expense because the heat source determines the structure behind the wall. A traditional wood-burning fireplace requires structural reinforcement, thick firebrick, and an exterior chimney rising above the roofline. A gas fireplace eliminates full masonry but requires gas pipe plumbing and metal exhaust venting through an exterior wall or roof. An electric fireplace eliminates structural masonry, gas lines, and exhaust pipes entirely, operating on household electricity inside basic stud walls.
Choosing wood means paying for weeks of specialized masonry labor. Bricklayers must mix mortar, lay hundreds of bricks, and construct a flue that carries intense heat safely away from home framing. If your home sits on a wooden subfloor, contractors must reinforce joists or pour concrete footings into the earth before laying the first brick. That foundational prep work can consume half the budget before the hearth is even built.
Choosing gas lowers the structural burden because direct-vent gas units fit inside standard wooden framing. But you still face trade costs. A licensed plumber must tie into your gas supply, drill through floor plates, and route pipe across the house. The exhaust vent pipe must also exit horizontally through an exterior wall or vertically through the roof.
Choosing electric bypasses these structural and venting hurdles. The firebox (the inner chamber where heat sits) produces realistic flames using low-wattage lighting elements and provides supplemental warmth through an internal fan heater. Because electric units produce zero combustion exhaust, they require no chimney or fuel lines, keeping installation within standard drywall framing.
Masonry and roof venting drive up construction bills
Masonry and roof venting drive up construction bills through heavy labor, specialized trades, and roof alterations. Masonry, which refers to custom brick or stone work built on-site, is heavy and slow. A full chimney can weigh several tons. Standard residential floors cannot hold a vertical tower of solid stone without sinking. To support that weight, contractors must dig below the frost line, pour a concrete pad, and build masonry piers up to the living room floor.
Venting, the system of pipes carrying exhaust outside, presents another major trade expense. Burning wood or gas produces toxic combustion gases, including carbon monoxide, which must leave the home. Cutting a vent path through an existing house requires opening finished ceilings, navigating past plumbing lines, cutting roof rafters, and installing fire-stop shields.
Roof penetrations introduce water risks that demand careful installation. When a vent pipe breaches your roof deck, contractors must strip shingles, install metal flashing, and seal the opening against storms. If that flashing fails, rainwater leaks into attic insulation, creating costly mold and ceiling damage.
Masonry chimneys also leak energy when idle. An open chimney pulls heated indoor air out of your house all winter. Learning how to close a fireplace damper properly prevents drafts, but factory-built venting avoids this structural issue entirely.
Stone veneers and custom mantels shift finishing costs
Stone veneers and custom mantels shift finishing costs depending on whether you pick lightweight carpentry finishes or heavy masonry surfaces. Once the inner firebox sits inside the wall, surround materials define the room. Decorative finishes vary widely in weight, installation difficulty, and material pricing. You can build a clean hearth using painted drywall, or spend significantly more on stacked stone and hardwood mantels.
Here is how common finishing options affect your remodeling workload:
- Drywall bump-outs: A bump-out is a framed false wall built inward into the room to hold the firebox. Finishing it with drywall and paint requires basic carpentry. It is the most economical method because it uses standard lumber and avoids masonry crews.
- Manufactured stone veneer: Cultured stone mimics river rock or slate without heavy weight. It requires cement backer board, metal lath, a scratch coat of mortar, and individual stone placement. While lighter than solid brickwork, it still demands mortar work.
- Natural stone slabs and tiles: Granite, marble, or authentic slate slabs are heavy and rigid. Installers must use diamond wet saws, thick thinset mortar, and wall anchors. The stone is costly, and hiring a tile setter adds to the bill.
- Wood mantels and shelves: A solid timber mantel adds classic charm, but it requires secure anchor points in wall studs. For wood or gas units, building codes mandate strict clearance distances between the firebox opening and combustible wood.
- Non-combustible hearth extensions: Wood and vented gas fireplaces require a non-combustible floor pad extending out front to protect floors from stray embers. Tiling or pouring a custom hearth takes up floor space and adds another subcontractor to the schedule.
Utility lines and permits create unexpected remodeling expenses
Utility lines and permits create unexpected remodeling expenses that can derail a budget if left unplanned. General carpentry quotes rarely cover separate invoices from plumbers, electricians, and city building inspectors. These trades are legally required to verify that gas connections and electrical circuits meet local safety codes.
Plan for these common secondary expenses before cutting into walls:
- Building and mechanical permits: Most towns require permits for structural alterations, chimney work, new gas lines, and electrical additions. Permit fees vary by municipality, but skipping them can void your home insurance coverage if a fire ever occurs. Inspectors must also check the rough work before you close the walls.
- Gas pipe extensions: Tapping into a natural gas line requires a licensed plumber or gas fitter. If your gas meter or main line sits on the far side of the house, the plumber must drill through floor joists and route pipes through crawl spaces. Shutoff valves, sediment traps, and pressure checks add to both labor and parts costs.
- Dedicated electrical circuits: An electric fireplace heater draws substantial current. Most units draw around 12.5 amps on high heat (1,500 watts) from a standard 120-volt wall outlet. If that outlet shares a circuit breaker with a television, vacuum, or kitchen appliances, the breaker will trip quickly. An electrician must run a new wire from your breaker panel to create a dedicated circuit, meaning an outlet that doesn't share its breaker with other power-hungry appliances.
- Wall patching and repainting: Running gas pipes and electrical wiring through finished walls leaves access holes in sheetrock. Plumbers and electricians do not patch drywall, so you must budget for patching, sanding, and repainting those openings.
Framing an electric insert cuts major labor expenses
Framing an electric insert cuts major labor expenses by turning a messy masonry job into a straightforward carpentry project. Instead of pouring concrete footings or hiring specialized masons, you can build a bump-out against a flat wall. This method eliminates chimney construction, gas permits, and roof penetrations entirely, giving you a custom built-in look while keeping your timeline intact.
Follow these steps to frame a bump-out wall:
- Mark the wall studs and layout: Measure your room to set the width and depth of the false wall. Use a stud finder to locate existing vertical wall framing. Snap chalk lines on the floor and ceiling where the new 2x4 framing will sit.
- Build the rough frame: Construct the front and side wall frames on the floor with standard 2x4 lumber. Measure the manufacturer specifications for your firebox to build the rough opening. Include a horizontal header and vertical trimmer studs to support the insert and any television mounted above.
- Anchor the structure: Stand the framed walls along your layout lines. Fasten the top plate to ceiling joists, the bottom plate to the floor, and the rear studs to existing wall framing. Check with a level to ensure the structure is plumb.
- Install electrical power: Have an electrician run a dedicated circuit into the cavity. Place a standard 120-volt wall outlet inside the opening so the heavy three-prong plug sits flush. Never use extension cords or power strips inside closed framing, as high heater draw can melt cords and spark fires.
- Hang and finish wall boards: Attach drywall to the 2x4 frame with drywall screws. Tape and mud the joints, sand smooth, and paint. You can also nail lightweight shiplap or glue thin decorative tile directly to the surface.
- Slide and secure the unit: Slide the fireplace insert into the opening and secure the side brackets to the studs. Plug in the power cord, place your log set or glass crystal bed, and attach the front glass. A compact 40-inch electric fireplace insert creates a clean focal point without masonry bills.
Electric inserts offer built-in warmth without masonry bills
Electric inserts offer built-in warmth without masonry bills, making them the most practical choice for budget-conscious remodels. If your goal is to add cozy ambiance and zone heating to a living room, bedroom, or finished basement without structural changes, a recessed electric insert solves the problem directly. You get the look of a built-in architectural hearth while skipping the weeks of dust and contractor scheduling that come with brick chimneys.
Before picking a model, verify a few critical installation requirements. Check the chassis depth against your framing lumber. Standard 2x4 interior wall studs provide three and a half inches of depth, while 2x6 studs offer five and a half inches. Slim linear fireplaces fit inside standard 2x4 framing, but deeper models with larger log beds require 2x6 framing or a deeper bump-out.
Check the location of the heating vent or blower grille. If you plan to mount a television or wooden mantel above the unit, choose a model with front-facing or bottom heat discharge. Top-discharging vents blow hot air straight up, which can damage sensitive television screens unless you install an angled deflector shelf. Keep at least eight to twelve inches of clearance between the top of the fireplace and your television.
Look for units with an overheat safety shutoff, cool-touch glass that stays safe for children and pets, and an adjustable digital thermostat. Choosing a high-quality electric fireplace with independent flame controls lets you enjoy the visual flame in warmer months without running the 1,500-watt heater. Reviewing these dimensions and safety features before buying keeps your framing project running smoothly and protects your remodel budget.
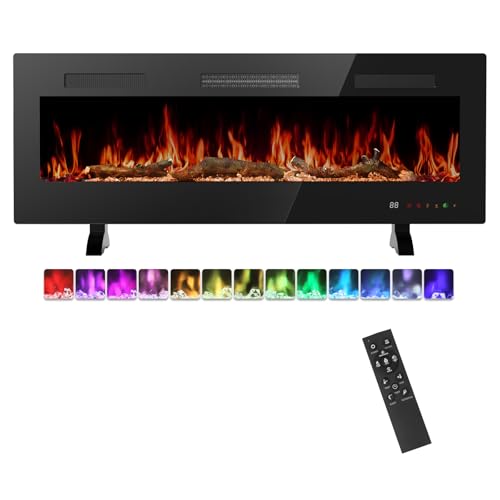
- BWP Score10.0
BWP Score is a ranking system developed by Bestwinterproducts.com. BWP score has no relationship or impact from any manufacturers or sales agent websites. Learn more
- BrandNEWBULIG

- BWP Score9.6
BWP Score is a ranking system developed by Bestwinterproducts.com. BWP score has no relationship or impact from any manufacturers or sales agent websites. Learn more
- BrandLegend Flame

- BWP Score9.6
BWP Score is a ranking system developed by Bestwinterproducts.com. BWP score has no relationship or impact from any manufacturers or sales agent websites. Learn more
- BrandWestinghouse

- BWP Score9.4
BWP Score is a ranking system developed by Bestwinterproducts.com. BWP score has no relationship or impact from any manufacturers or sales agent websites. Learn more
- BrandTehanld

- BWP Score9.4
BWP Score is a ranking system developed by Bestwinterproducts.com. BWP score has no relationship or impact from any manufacturers or sales agent websites. Learn more
- BrandEUHOMY
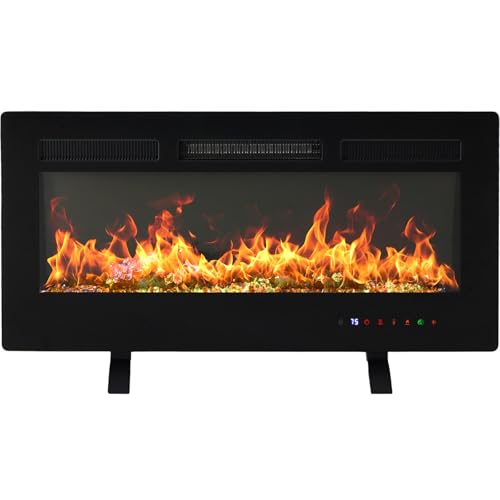
- BWP Score8.8
BWP Score is a ranking system developed by Bestwinterproducts.com. BWP score has no relationship or impact from any manufacturers or sales agent websites. Learn more
- BrandDUMOS

- BWP Score8.8
BWP Score is a ranking system developed by Bestwinterproducts.com. BWP score has no relationship or impact from any manufacturers or sales agent websites. Learn more
- BrandOKD

- BWP Score8.6
BWP Score is a ranking system developed by Bestwinterproducts.com. BWP score has no relationship or impact from any manufacturers or sales agent websites. Learn more
- BrandROVSUN
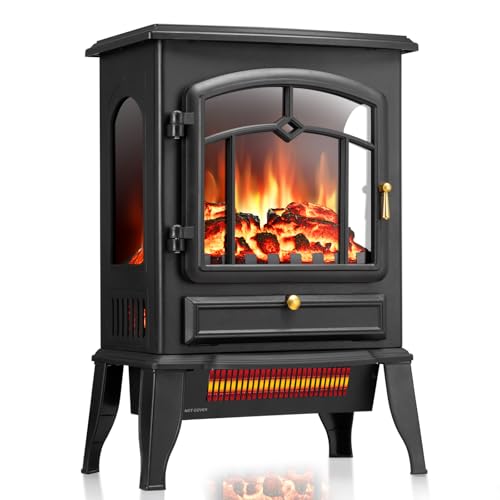
- BWP Score8.6
BWP Score is a ranking system developed by Bestwinterproducts.com. BWP score has no relationship or impact from any manufacturers or sales agent websites. Learn more
- BrandZAFRO

- BWP Score8.6
BWP Score is a ranking system developed by Bestwinterproducts.com. BWP score has no relationship or impact from any manufacturers or sales agent websites. Learn more
- BrandDuraflame
Last update on 2026-10-02 / Affiliate links / Images, Product Titles, and Product Highlights from Amazon Product Advertising API


12 Best Corner Electric Fireplace 2026: My Ultimate Guide To Pick One

Dimplex Prism Wall Mount Fireplace: Sleek Heat With Modern Flame Style
Best Electric Fireplace Insert for Large Room Heating and Style

Best 40 Inch Electric Fireplace Insert 2026 - Cozy Ambiance with Modern Power
Top 12 Best Quality Electric Fireplace 2026 - Buying Guides

Best Wall Mount Electric Fireplace 2026 for Ultimate Comfort and Style

How to Start Monessen Fireplace: A Step-by-Step Guide

How to Whitewash Rock Fireplace: Simple Steps to Refresh Your Space