How to Build a Safe Fireplace Insert Surround

Building an enclosure around a fireplace insert sounds intimidating, but it is a very manageable project once the basic numbers are clear. The main job is to frame a sturdy rough opening slightly wider than the unit, cover the face with fire-safe wall board, and slide the box into place. Planning that framed hole with a little extra wiggle room keeps the fit clean and avoids tight, frustrating mistakes.
The exact materials depend mostly on heat output and the final decorative look. A zero-clearance electric insert works well with regular lumber and standard drywall, but gas or wood units produce real heat that requires metal studs and cement backer board. Finish materials like heavy stone also need stronger support than plain paint, while top and bottom air vents must stay wide open. Here is how to map out the measurements, assemble the framing, and wrap up the wall safely.
What clearances does your fireplace insert need?
Every fireplace project begins with clearance, which is the safe empty distance from heat that you must leave between the firebox and any combustible materials. If you ignore these spacing rules, heat builds up inside the wall cavity and creates a serious fire hazard over time. The exact distance you need depends entirely on whether your insert runs on electricity, gas, or wood.
Most modern electric units are listed as zero-clearance models. In plain terms, zero-clearance means the outer metal cabinet stays cool enough that it is safe to touch regular wall framing directly. These electric units operate as supplemental zone heaters rather than main whole-home furnaces. They usually run at 750 watts on low and 1,500 watts on high, drawing about 12.5 amps on a standard 15-amp household circuit to produce roughly 4,600 to 5,200 BTUs of heat. While the front viewing glass remains cool to children and pets, the metal heating vent or blower grille discharges very warm air. That metal grille must remain completely unobstructed. If you are finding the best electric fireplace insert for large room heating, always check the cabinet sticker to see if the blower vents from the top, front, or bottom.
Gas and wood inserts produce far higher temperatures and have much stricter rules. A wood-burning insert requires substantial space between the hot steel body and any surrounding wood studs. It also demands non-combustible hearth protection extending onto the floor in front of the door. When converting an old masonry hearth, learning how to close the fireplace damper tightly or sealing around the exhaust collar prevents cold drafts from dropping down the chimney and entering your living room. Always consult the manufacturer rating plate on your firebox before buying your framing lumber.
How do you measure the rough opening accurately?
A rough opening is simply the framed hole in the wall that holds your new firebox insert. Getting these dimensions right prevents two common headaches: a hole that is too tight to slide the metal box into, or a hole that is so oversized that your outer trim cannot cover the gaps. You want a snug fit that still allows the box to slide in smoothly without scraping the studs.
To calculate your rough opening, measure the main metal chassis of the insert. Do not measure the decorative front glass, faceplate flange, or decorative trim, because those pieces sit outside the wall against your finished surface. Use this simple planning formula:
- Rough opening width: Measure the width of the metal firebox body and add 1/2 inch to 1 inch of extra space. This gives you 1/4 to 1/2 inch of wiggle room on each side so the unit slides in without binding.
- Rough opening height: Measure the height of the metal firebox body and add 1/4 inch to 1/2 inch of clearance at the top.
- Rough opening depth: Measure the depth of the unit from the front mounting bracket to the rear wall panel, then add at least 1 to 2 inches of empty space behind it. This depth pocket allows room for the heavy power cord and promotes internal airflow.
If you are building a new bump-out wall into the room, take the thickness of your wall covering into account. A standard 2x4 stud is actually 3.5 inches deep. If you are installing a deeper unit, such as a 40-inch electric fireplace insert, standard wall studs may not be deep enough on their own. You will need to build the bump-out frame forward into the room so the rear metal cabinet does not push against your existing drywall.
How do you frame the surround with studs?
Framing a fireplace surround is very similar to framing a window opening inside an interior wall. You can build the structure with standard 2x4 wood lumber if you are installing a zero-clearance electric insert. If you are framing around a high-heat gas or wood unit, use galvanized steel studs to eliminate combustible materials near the firebox. Follow these steps to build a rigid, plumb frame:
- Anchor the base plates: Cut a 2x4 bottom plate to your planned surround width. Fasten it securely to the floor using wood screws for subfloors or masonry anchors for concrete slabs. Check that the plate sits square to your existing room walls.
- Set the top plate and corner studs: Secure an identical 2x4 top plate directly above the base plate. Fasten it into your ceiling joists or screw it into your existing wall framing. Plumb your outer vertical studs using a 4-foot bubble level so the surround does not lean forward.
- Install king and jack studs: Place full-height king studs on the left and right outer edges of your planned opening. Next, fasten shorter jack studs (also called trimmer studs) directly inside the king studs. These jack studs act as vertical shelf posts that carry the weight of your top header board.
- Fasten the header and sill: Cut horizontal 2x4s to span the exact rough opening width. Place the header across the top of your jack studs, and install a horizontal sill plate at the bottom opening height. For wide openings, double the 2x4 header on its edge so the top framing never sags under the weight of heavy tile or a television above.
- Confirm squareness: Hook your tape measure on the top left corner of the framed opening and measure down to the bottom right corner. Then measure from the top right to the bottom left. If both diagonal measurements are identical, your framed hole is perfectly square.
- Route the electrical service: Before covering the studs, install a dedicated 120-volt wall outlet inside or directly beside the framing opening. A dedicated circuit means an electrical outlet that does not share its breaker with other power-hungry appliances like microwaves, coffee makers, or space heaters. The insert's heavy 3-prong power cord must plug directly into this outlet. Never use an extension cord or surge protector strip inside a wall cavity, as drawing continuous 1,500-watt power through light-duty cords creates an extreme fire hazard.
Should you install drywall or cement backer board?
Once your stud framing is secure and the electrical outlet is verified, you must choose the right surface board to skin the frame. The right choice depends on your planned decorative finish and the amount of heat the insert produces.
Drywall is suitable only for zero-clearance electric inserts that you plan to paint or trim with light wood molding. Standard 1/2-inch drywall is easy to cut and tape, but it has limitations. Drywall core contains gypsum and paper facing, which cannot tolerate direct heat exposure from gas or wood inserts. Drywall also weakens if exposed to high moisture, and it lacks the structural stiffness needed to carry the weight of stone or heavy ceramic tile.
Backer board is a fireproof cement wall sheet made from cement and reinforcing mesh. You should always use 1/2-inch cement backer board if your finish includes porcelain tile, brick veneer, marble slabs, or natural stacked stone. Cement board does not burn, will not warp under warmth, and bonds permanently to tile mortar. Fasten cement backer board to your studs using specialized corrosion-resistant backer screws spaced every 8 inches. Keep the edges of the board flush with your framed rough opening. Do not let the board lip over the wood studs into the opening, or the metal firebox will catch on the rough edge and jam when you push it into place.
How do you slide in and seal the insert?
Finishing the installation requires patience so you do not scratch your new wall surface or damage the internal wiring. Follow this sequence to secure the insert and seal the borders:
- Perform a fit check: Before applying your final paint coat or grouting your tile, slide the bare metal insert into the opening. Verify that the unit rests level, that the front face sits flush with the wall, and that there is adequate space behind the unit for the cord. Once confirmed, pull the unit back out to complete your wall finishes.
- Connect the power: After finishing your wall surface, route the heavy power cord to your dedicated outlet. Ensure the cord hangs naturally in the open cavity behind the unit. It should not rest directly against sharp metal brackets or pinch beneath the bottom metal plate.
- Slide the chassis home: Have a helper guide the firebox insert into the opening. Push slowly against the lower corners of the metal chassis rather than pushing against the delicate decorative glass panel. Push the unit until its outer mounting flanges rest firmly against your finished wall face.
- Anchor the unit to the studs: Locate the pre-drilled mounting holes along the left and right side flanges of the firebox. Drive the manufacturer-supplied screws through these holes directly into your framed wood or metal jack studs. This locks the unit in place so it cannot shift when operating switches or adjusting flame controls.
- Cover the gaps: Small gaps of 1/8 to 1/2 inch often remain between the cut edge of your wall board and the metal firebox. To cover these lines, attach your unit's trim kit (a metal or wood border that covers gaps). If you notice drafty air leaking from an old chimney behind the unit, apply a self-adhesive fiberglass insulation sealing strip along the rear perimeter of the trim kit before snapping or screwing it onto the firebox.
When should you call a licensed professional?
Many homeowners can handle basic stud framing and wall board hanging, but certain aspects of building a fireplace surround demand professional trades. Stop work and contact a licensed contractor or electrician if you run into any of the following situations:
- Adding a dedicated breaker: If your home breaker panel is full, or if you need to run new Romex wiring from the basement to power the insert on an isolated 15-amp or 20-amp circuit, hire a licensed electrician.
- Running or capping gas lines: Never attempt to cut, extend, or join gas supply lines without a licensed plumber or gas-fitter certification. Gas leaks pose immediate explosion and health dangers.
- Altering structural framing: If your planned surround requires cutting into an existing load-bearing wall, removing floor joists, or chopping away structural chimney masonry, consult a structural engineer or general contractor first.
- Flue and chimney venting: Direct-vent gas inserts and wood inserts require specific stainless-steel flue liners and exterior chimney caps to vent carbon monoxide safely outside. Certified chimney sweeps ensure these venting systems comply with local building codes.
What accessories help cover gaps around the surround?
Even with careful measuring, cutting drywall or cement backer board leaves slight variations around the perimeter of your firebox. Fireplace trim kits and perimeter insulation strips are made specifically to bridge this void and deliver a clean, finished appearance.
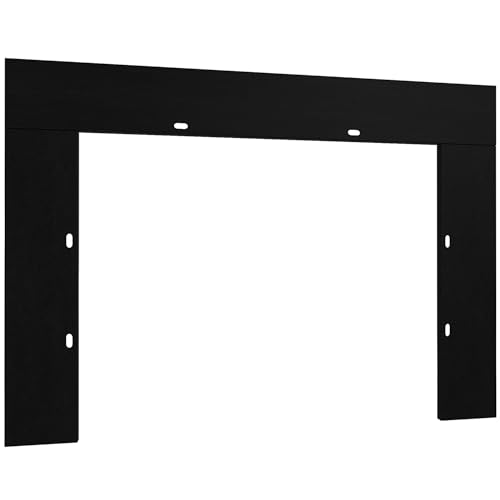
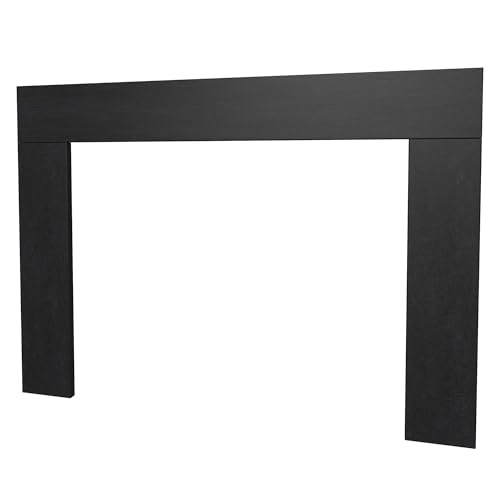
Metal trim kits work like a picture frame. They attach to the front of the firebox or the surrounding wall using mounting brackets or magnetic strips. This metal flange overlaps both the rough edge of your wall opening and the outer perimeter of the insert chassis, hiding cut drywall lines, uneven grout joints, or rough masonry gaps. Before buying an accessory trim kit, measure the exact height and width of your firebox faceplate, as well as the outer perimeter of your rough wall opening. Confirm that the inner opening of the trim kit fits your specific insert dimensions, while the outer border is wide enough to overlap your framed opening completely.
For installations inside drafty masonry fireplaces, self-adhesive fiberglass insulation strips provide an essential air barrier. These dense strips stick directly behind the metal trim plate, compressing tightly against the brick or stone face. They prevent cold drafts from escaping into your living room and stop heated indoor air from getting sucked into the hollow wall framing.
- BWP Score8.8
BWP Score is a ranking system developed by Bestwinterproducts.com. BWP score has no relationship or impact from any manufacturers or sales agent websites. Learn more
- BrandRODALFLAME

- BWP Score8.8
BWP Score is a ranking system developed by Bestwinterproducts.com. BWP score has no relationship or impact from any manufacturers or sales agent websites. Learn more
- BrandKentsky

- BWP Score8.8
BWP Score is a ranking system developed by Bestwinterproducts.com. BWP score has no relationship or impact from any manufacturers or sales agent websites. Learn more
- BrandRODALFLAME
- BWP Score8.8
BWP Score is a ranking system developed by Bestwinterproducts.com. BWP score has no relationship or impact from any manufacturers or sales agent websites. Learn more
- BrandVelaychimney

- BWP Score8.8
BWP Score is a ranking system developed by Bestwinterproducts.com. BWP score has no relationship or impact from any manufacturers or sales agent websites. Learn more
- BrandRODALFLAME

- BWP Score8.8
BWP Score is a ranking system developed by Bestwinterproducts.com. BWP score has no relationship or impact from any manufacturers or sales agent websites. Learn more
- BrandDreamflame

- BWP Score8.6
BWP Score is a ranking system developed by Bestwinterproducts.com. BWP score has no relationship or impact from any manufacturers or sales agent websites. Learn more
- BrandRCK Sales

- BWP Score8.6
BWP Score is a ranking system developed by Bestwinterproducts.com. BWP score has no relationship or impact from any manufacturers or sales agent websites. Learn more
- BrandRUTLAND PRODUCTS

- BWP Score8.2
BWP Score is a ranking system developed by Bestwinterproducts.com. BWP score has no relationship or impact from any manufacturers or sales agent websites. Learn more
- BrandMidwest Hearth

- BWP Score8.2
BWP Score is a ranking system developed by Bestwinterproducts.com. BWP score has no relationship or impact from any manufacturers or sales agent websites. Learn more
- Brandezflame
Last update on 2026-10-02 / Affiliate links / Images, Product Titles, and Product Highlights from Amazon Product Advertising API
FAQs
Can you frame an electric fireplace with standard 2x4 wood studs?
Yes, you can safely frame around zero-clearance electric fireplace inserts using ordinary 2x4 wood lumber. Because these units use internal blowers to disperse heat through front or top grilles, their outer steel housing stays relatively cool during operation. However, you must always verify that your specific model is certified as zero-clearance in its manual before setting wood studs against the chassis.
How much clearance do you need between an insert surround and a television?
You should maintain at least 8 to 12 inches of vertical clearance between the top of your fireplace insert and the bottom edge of a mounted television screen. If your insert blows heated air from a top-facing grille, hot exhaust air rises directly across the wall. Installing a solid mantel shelf between the fireplace and the television acts as an effective heat deflector, redirecting hot air forward into the room and away from sensitive television circuitry.
Why does an electric fireplace shut off after running for a short time?
Most electric inserts include an automatic overheat safety shutoff that cuts power to the heating element when internal temperatures climb too high. This cut-off switch is usually triggered when dust blankets the intake louvers, or when the rough opening is framed so tightly that ventilation air cannot circulate around the chassis. To clear the fault, unplug the power cord for 10 to 15 minutes to allow the thermal switch to reset, vacuum all lint from the intake grilles, and verify that the heating vent is unobstructed.
Can you plug an electric fireplace into a power strip or extension cord?
No, you should never plug an electric fireplace into an extension cord, power strip, or multi-outlet surge protector. Electric fireplace inserts draw around 1,500 watts continuously on high, which pulls roughly 12.5 amps through the wiring. Standard household extension cords and light power strips are not rated for continuous heavy loads; they can overheat, melt their plastic casing, and cause an electrical fire. Always plug the heavy 3-prong cord directly into a grounded 120-volt wall outlet on a dedicated circuit.


12 Best Corner Electric Fireplace 2026: My Ultimate Guide To Pick One

Dimplex Prism Wall Mount Fireplace: Sleek Heat With Modern Flame Style
Best Electric Fireplace Insert for Large Room Heating and Style

Best 40 Inch Electric Fireplace Insert 2026 - Cozy Ambiance with Modern Power
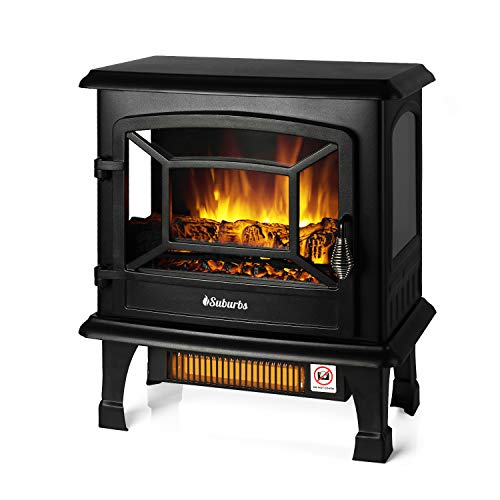
Top 12 Best Quality Electric Fireplace 2026 - Buying Guides

Best Wall Mount Electric Fireplace 2026 for Ultimate Comfort and Style

How to Start Monessen Fireplace: A Step-by-Step Guide

How to Whitewash Rock Fireplace: Simple Steps to Refresh Your Space